
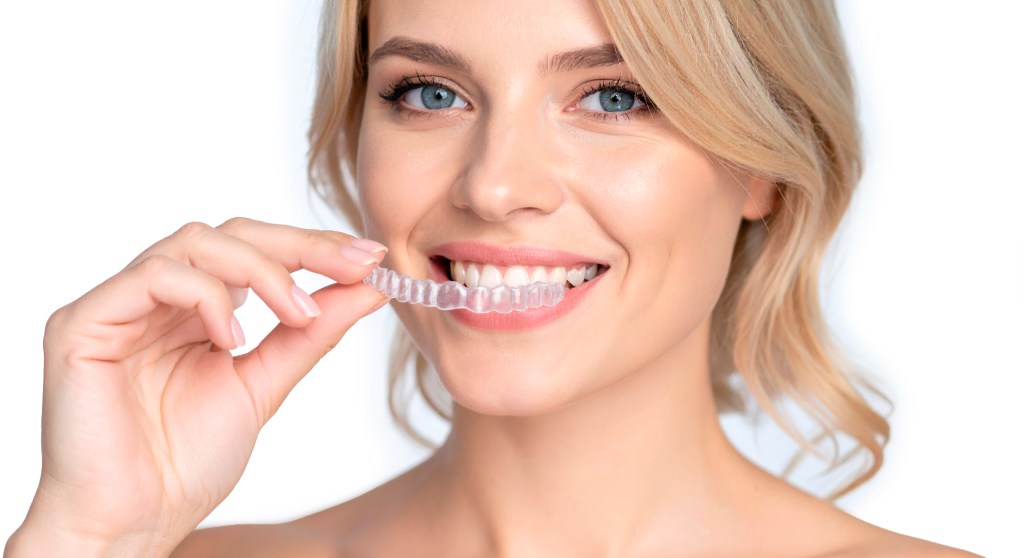
A smile professional tooth whitening integrates seamlessly into many treatment plans, whether as a precursor to aesthetic rehabilitation or as a standalone cosmetic procedure. With its two concentrations, A smile CP 10% and A smile CP 16%, you can tailor the indication and protocol to each clinical situation for safe, comfortable and effective whitening.
A precise diagnosis, clear communication with the patient, and adapting the protocol to the situation are the keys to success. Initial shade recording, photographs and well-fitting trays help optimise results and enhance patient satisfaction.

Take-home whitening remains today the reference technique for the majority of clinical cases. With A smile, you have a complete, comfortable and stable solution that you can easily integrate into your aesthetic or functional treatment plans.
Here are the recommended steps, designed to ensure maximum effectiveness with minimal sensitivity:

1- Take an accurate impression of the relevant arch. Cast the model in a hard plaster or print it, making sure to include reservoirs.

2- Create vestibular reservoirs on the teeth to be whitened using a special light-curing resin.

3- Thermoform a flexible sheet of 1 mm or 1.5 mm, depending on the clinical situation, using a thermoforming device.

4- Trim the tray precisely at the gum line or just above using appropriate scissors.

A smile is used daily by many practitioners to address straightforward aesthetic requests or to support more complex prosthetic treatment plans. With its viscous formulation, high water content, balanced pH, and desensitizing and remineralizing agents, the results are not only consistently visible but also comfortable and stable over time.
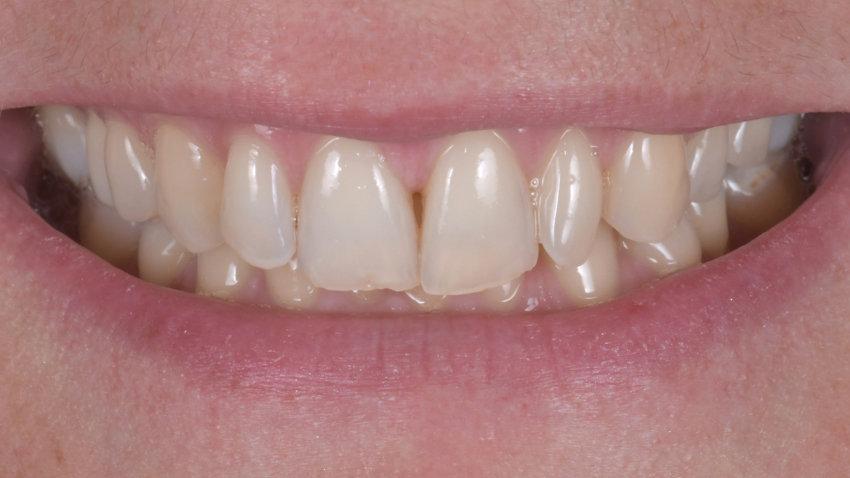
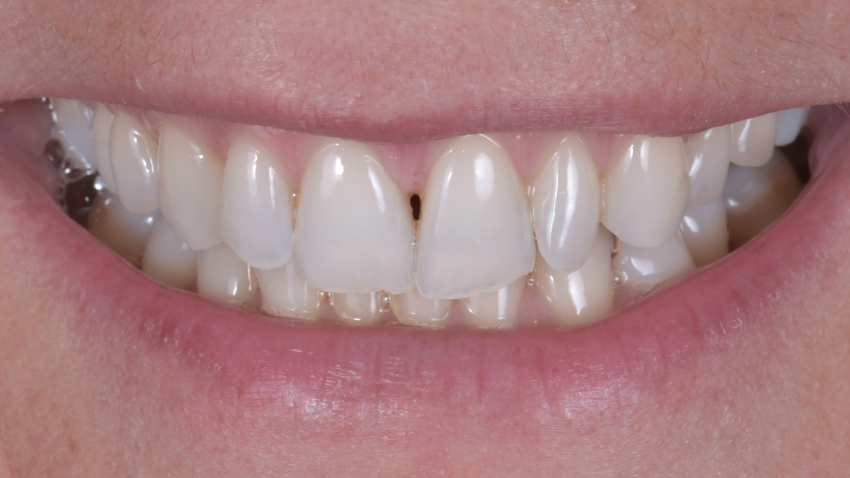
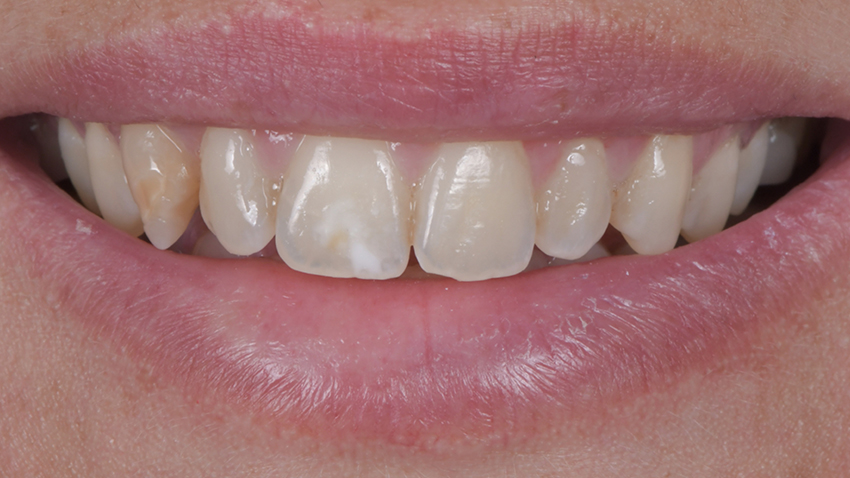
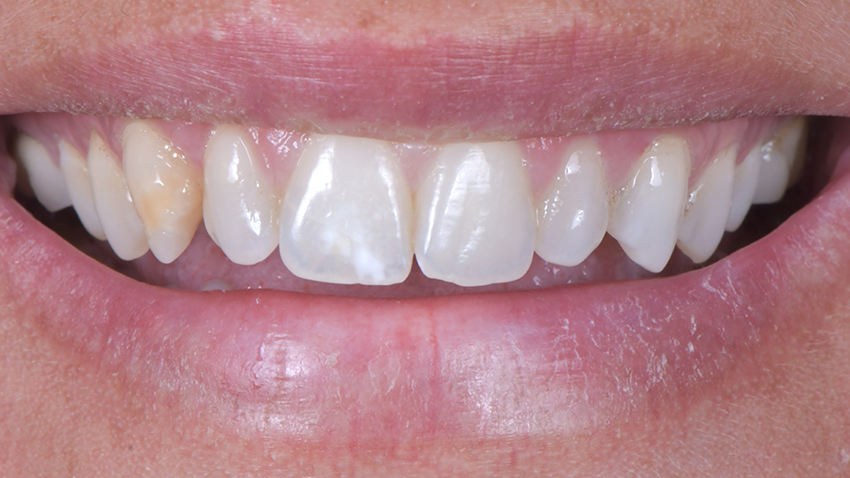
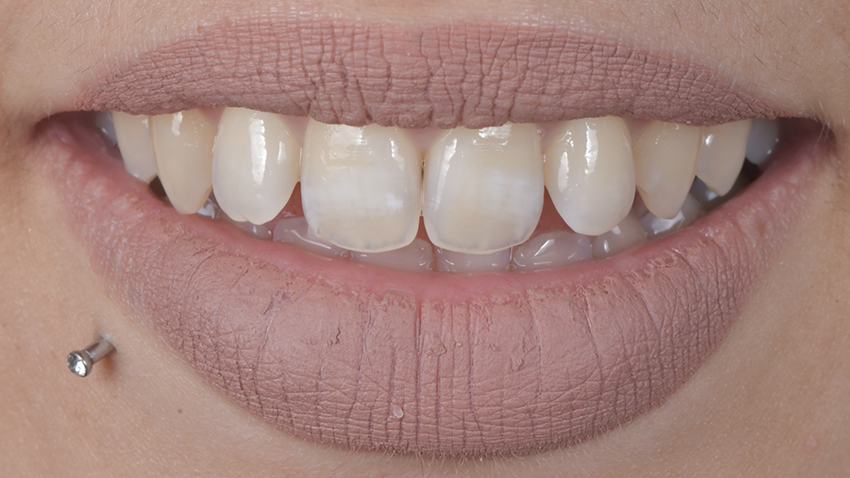
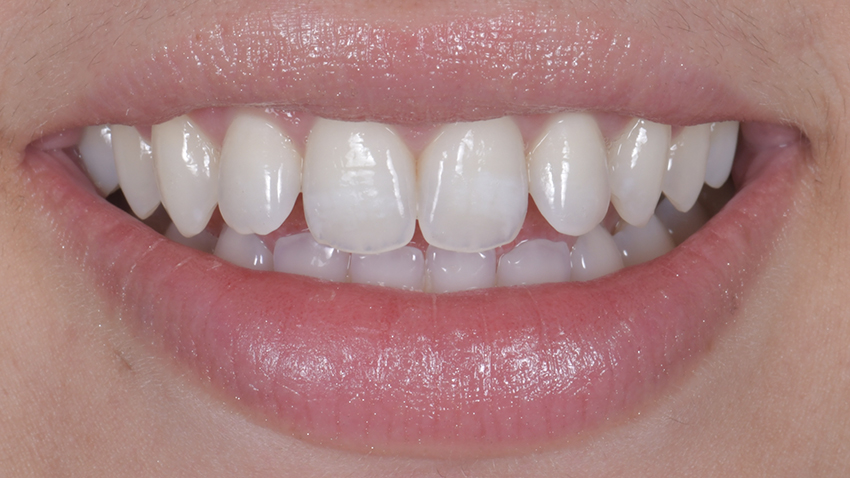
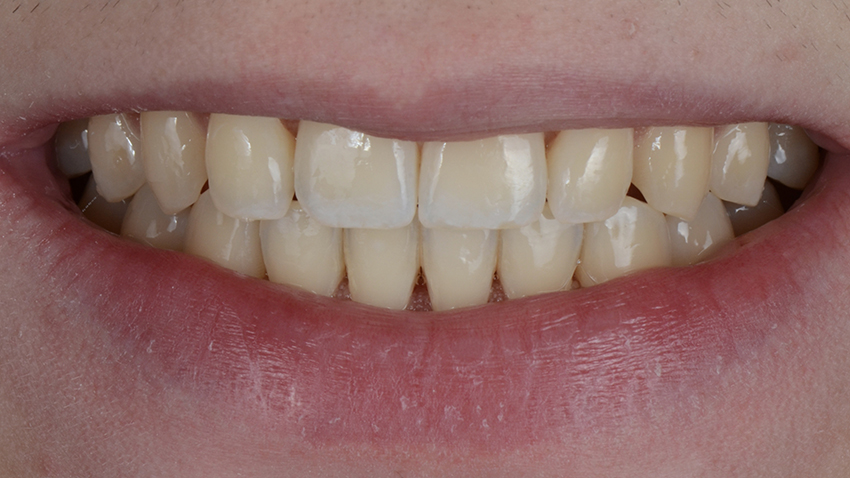
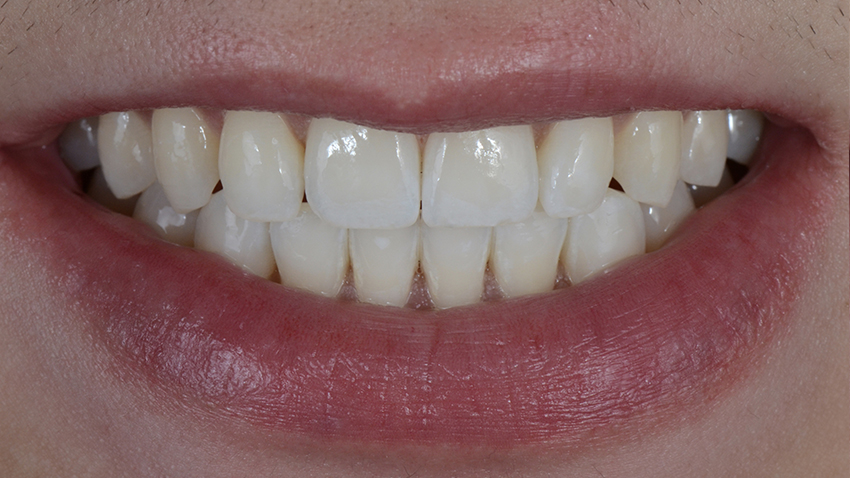
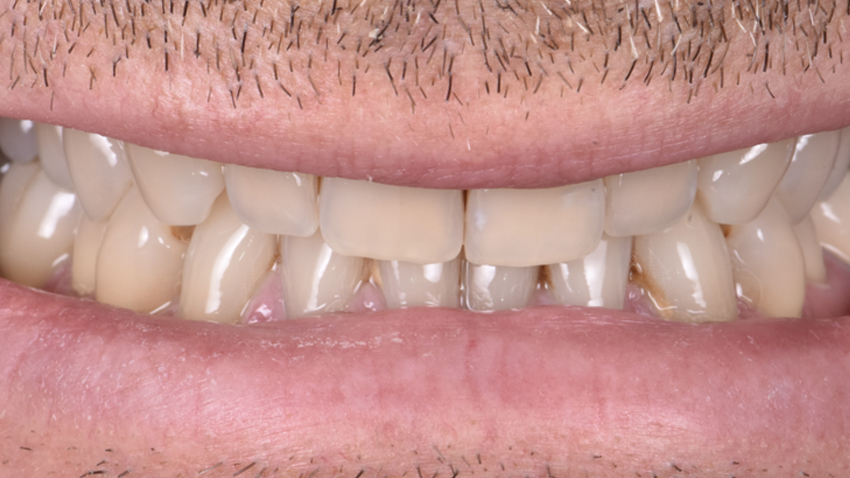
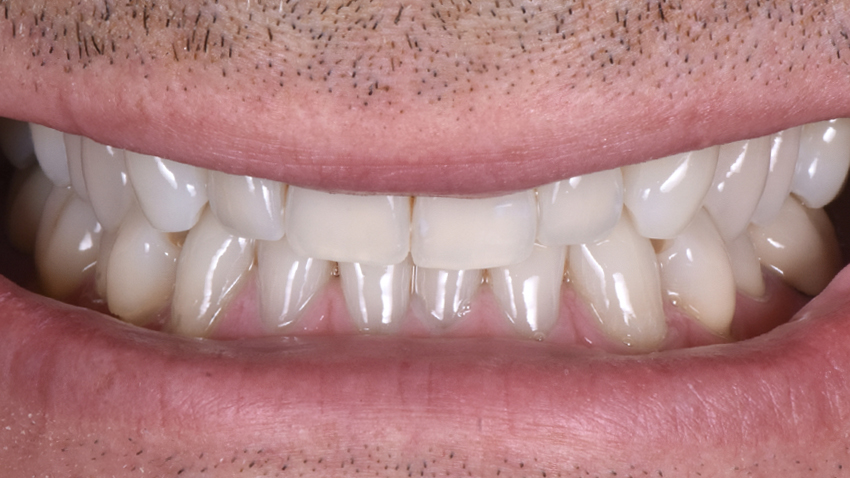

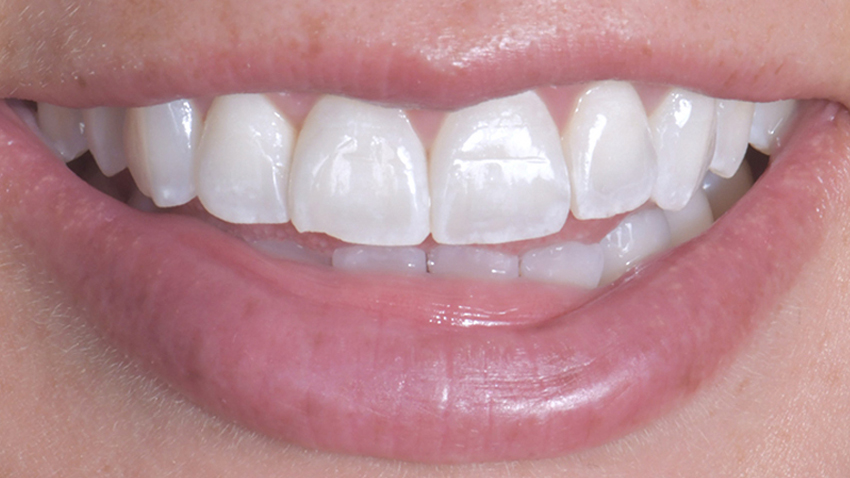
Clinical images: courtesy of Dr Marie Clément. The shades in the Before/After images were taken using the VITA BLEACH shade guide.
Photograph your A smile cases before and after, record the shade with a professional shade guide, and suggest your patients an annual touch-up with refill syringes.
Please feel free to send your clinical cases (anonymized) to us through our website to help fellow practitioners make an informed choice about A smile.

The cosmetic products presented on this website are exclusively intended for dental professionals – Carbamide peroxide-based products – Application time and duration may vary depending on the clinical situation. Manufacturer: FIP – Distributor: Bisico France. Click here to view the full legal notice. Click here to view the special terms of sale applicable on a-smile.fr. Click here to view our privacy policy. Click here to view our cookie policy. A smile products are exclusively reserved for dental professionals. © 2026 Bisico. All rights reserved.
To provide the best experiences, we use technologies like cookies to store and/or access device information.
Consenting to these technologies will allow us to process data such as browsing behavior or unique IDs on this site.
Not consenting or withdrawing consent, may adversely affect certain features and functions.